Run Windows 10 VM in VirtualBox on MacOS
If you’re a MacOS user then sometimes you need to run Windows for some particular reasons like special website tests (in the native Edge web browser). An easy & free way to do this is by using VirtualBox to run Windows 10 on your MacOS computer.
You can achieve this using the free virtualization software VirtualBox and the time limited (90 days) evaluation version of Windows 10 (Enterprise).
Prerequisite
- MacOS running VirtualBox: for the virtualization of Windows 10.
- fast internet connection: for the download of Windows 10 (Enterprise) Evaluation ISO.
1. Download Windows 10 Evaluation ISO
If you don’t have a Windows 10 license laying around but need to run virtualized Windows 10 one legal way to do it is to download a Windows Evaluation ISO image directly from the Microsoft Evaluation Center.
Beside an evaluation version of Windows 10 (Enterprise) Microsoft is offering some other products/operating systems for evaluation (e.g. Windows Server).
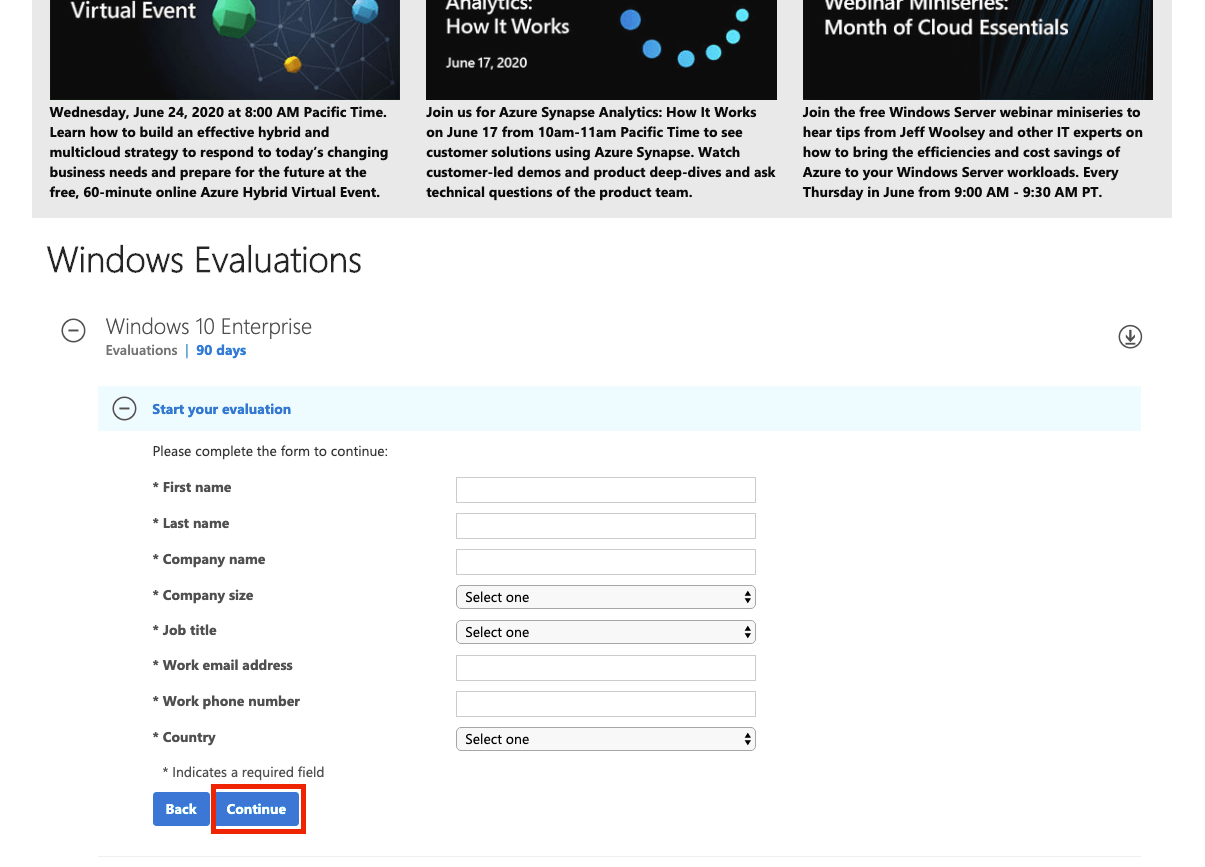
For our purposes you need to download the Windows 10 Enterprise ISO image. Before you’re able to do this you’ll need to provide personal information to Microsoft:
When your download finishes, you should have a 4.78 GB ISO file in your download folder:

2. Install Windows 10 (Enterprise) in VirtualBox
Now that we have the Windows 10 (Enterprise) ISO we can install Windows in VirtualBox.
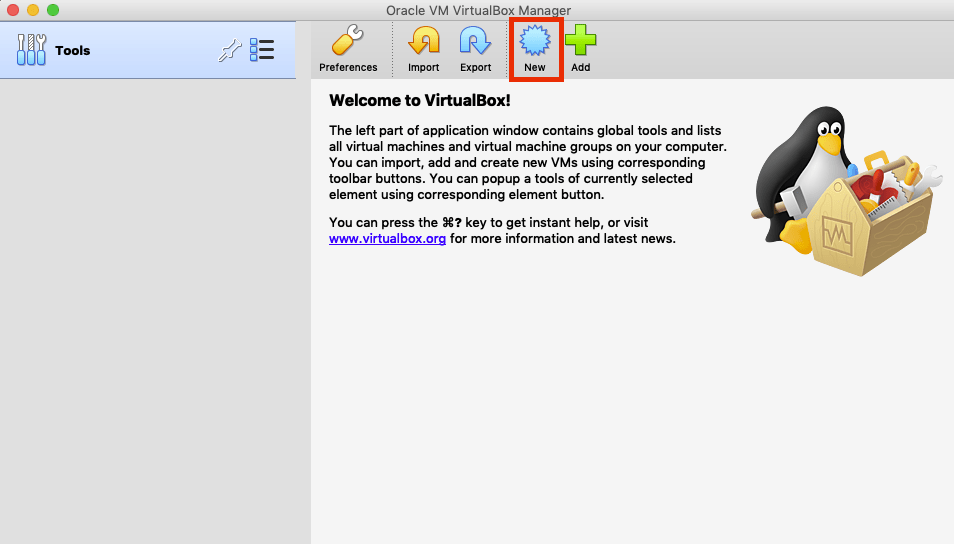
1. First open VirtualBox and click on the “New” icon for the creation of a new Virtual Machine (also called VM):
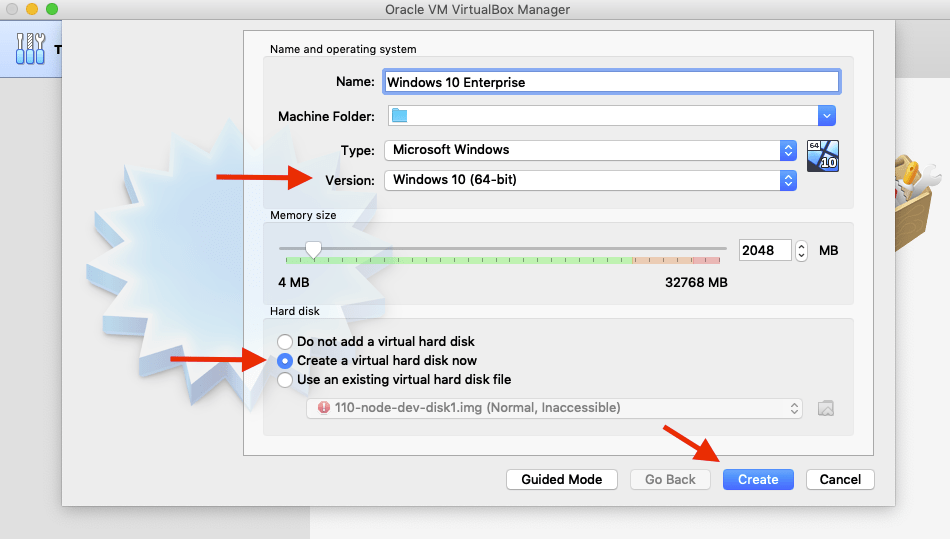
2. Next choose a name for your VM. When typing “Windows” into the field “Name” VirtualBox will recognize that you want to install Windows and will already prefill some of the needed fields. If not, make sure to choose the correct Windows Type & Version and create a new virtual hard disk:
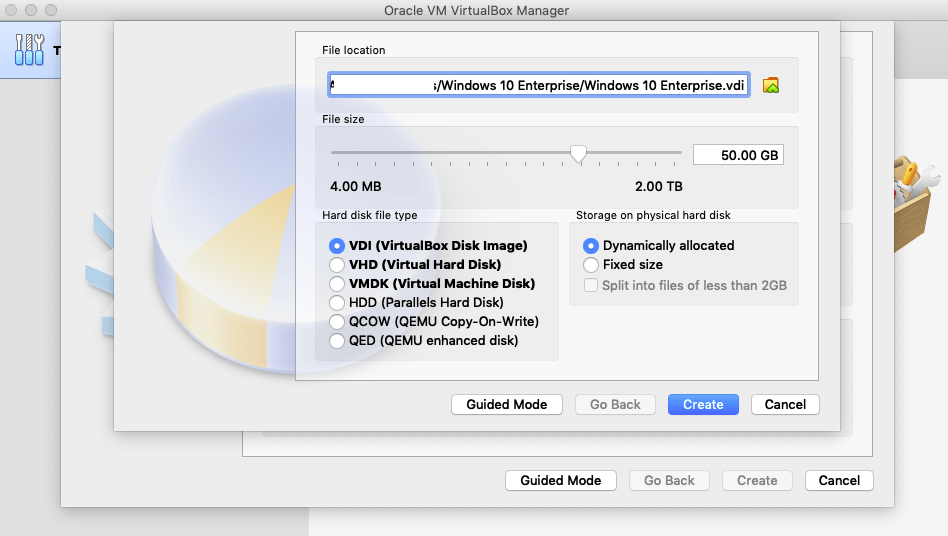
3. Click through the following virtual hard disk settings and keep the provided defaults:
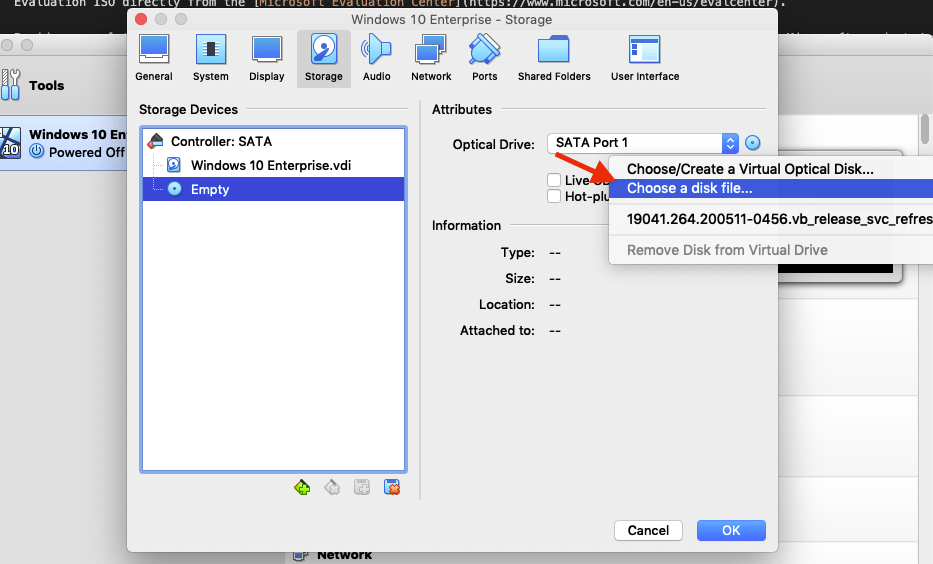
4. After the initial VM setup you’ll need to attach the previously downloaded Windows 10 ISO image to the VM:
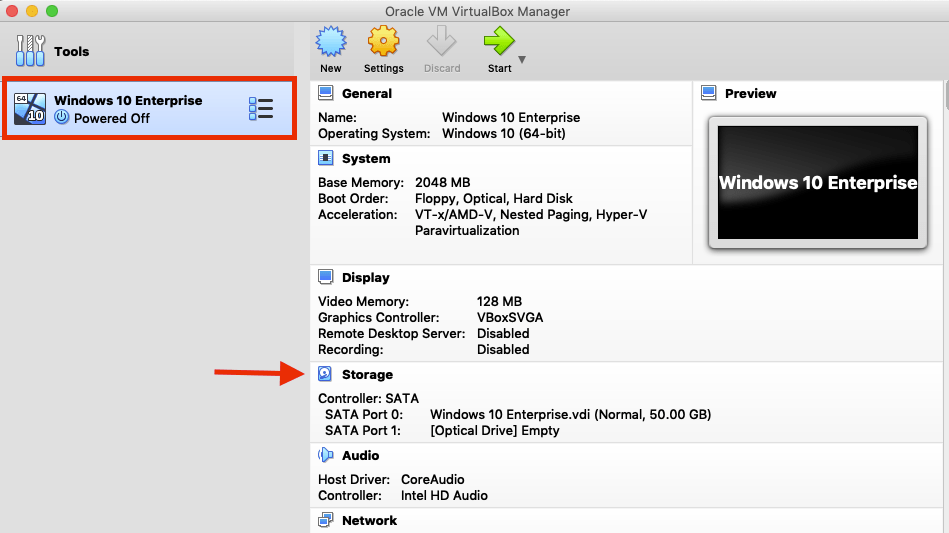
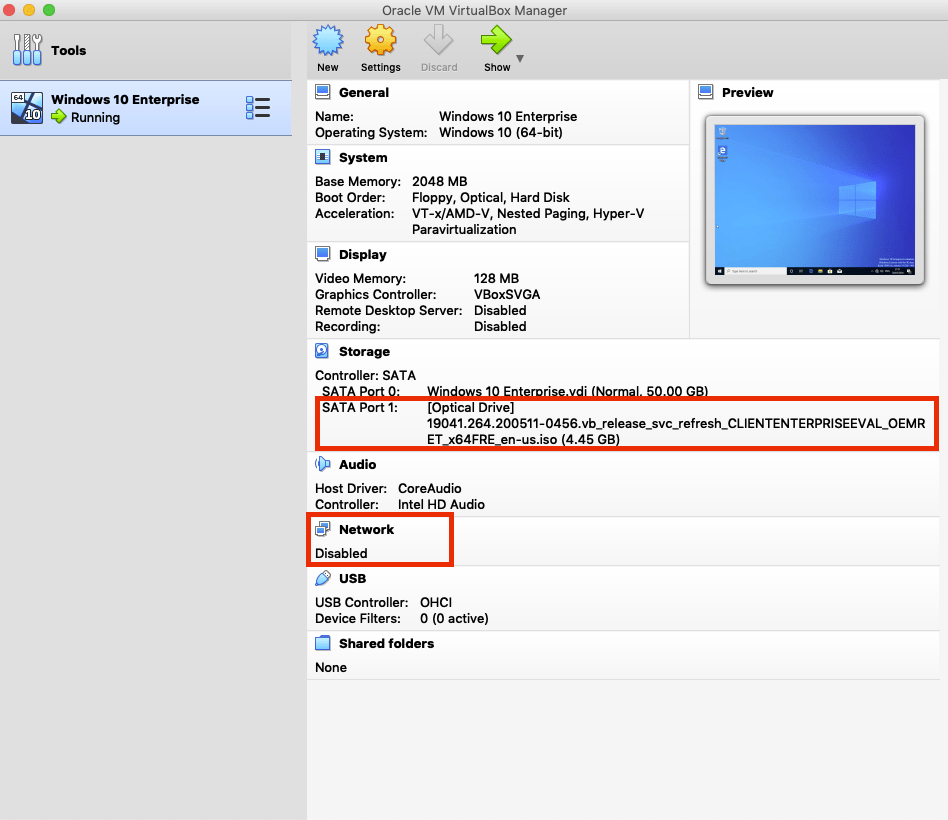
5. After the Windows 10 ISO is attached to the VM it will be shown in the VM overview. Before you start your VM and the installation of Windows 10 you should disable the network access of this VM in VirtualBox:
6. After this precaution you can start the VM and follow the installation steps:
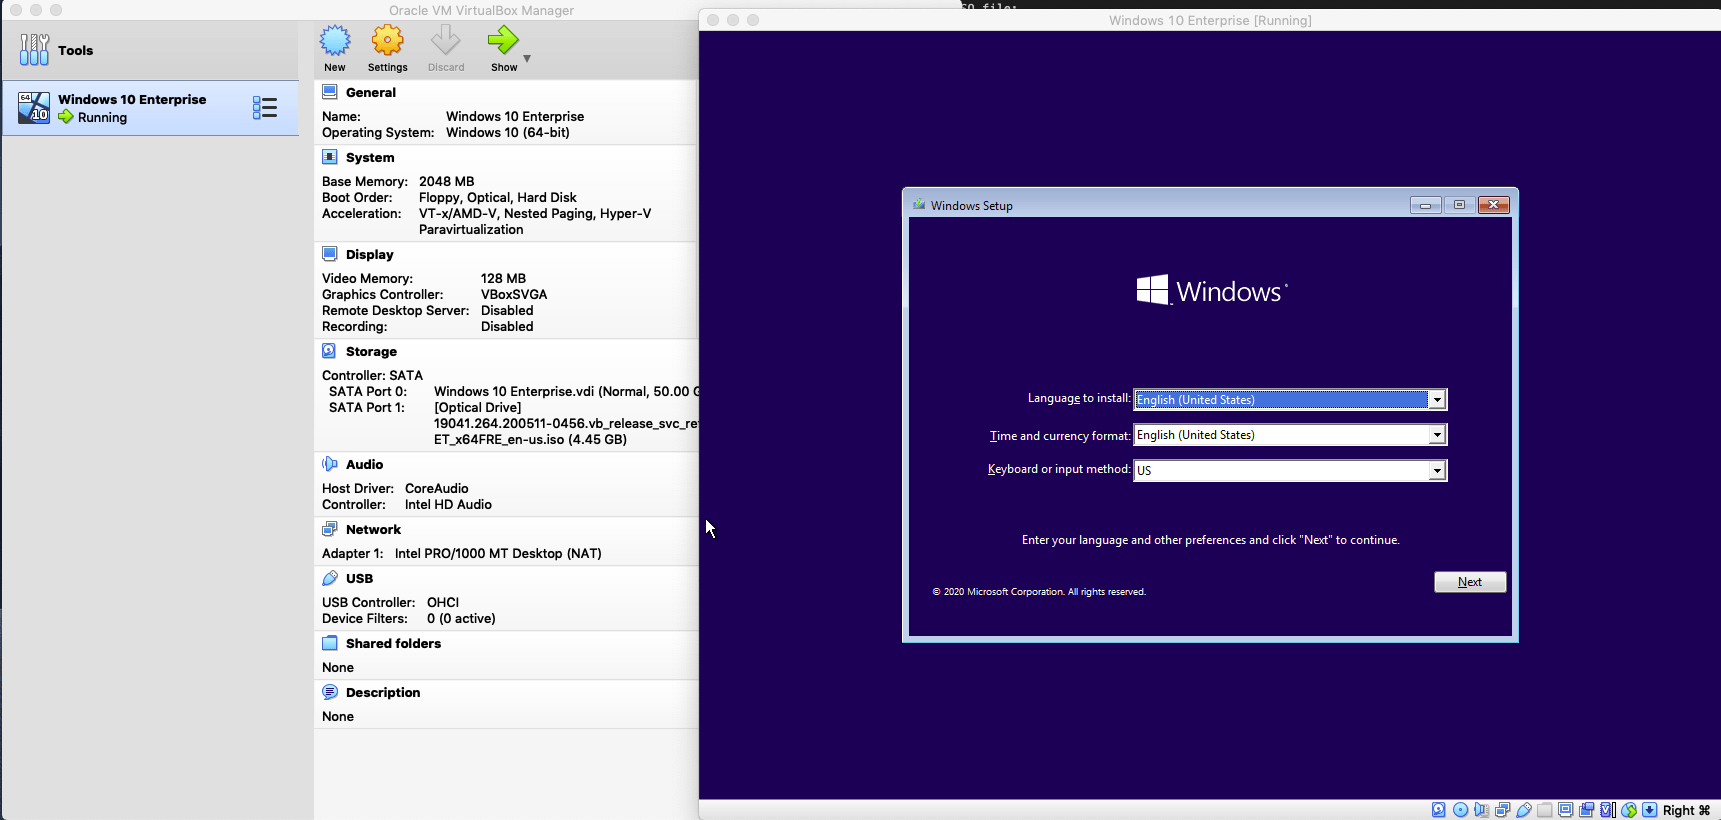
A good Step-by-Step guide can be found at the Microsoft Community Website.
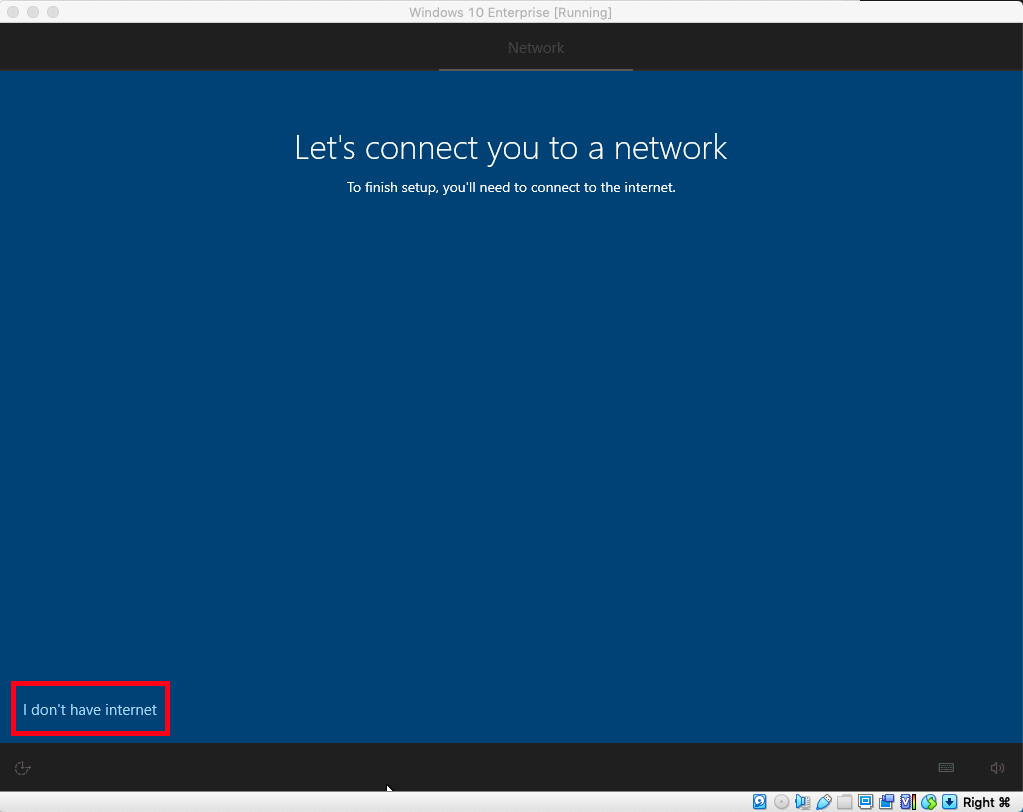
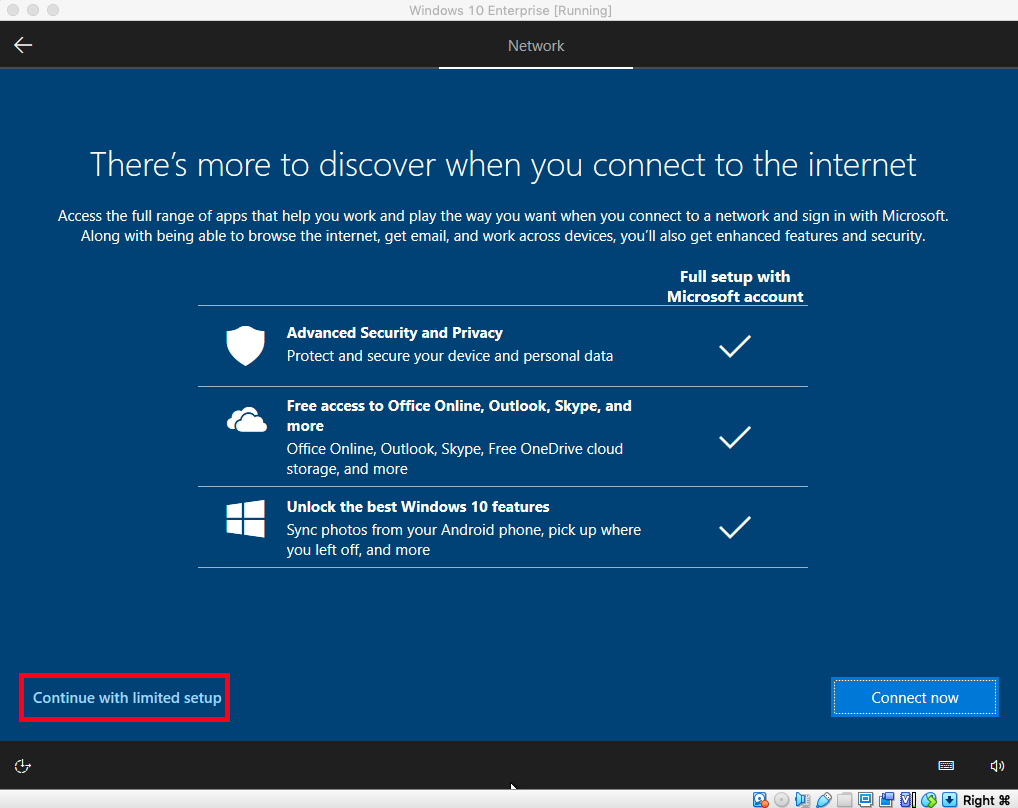
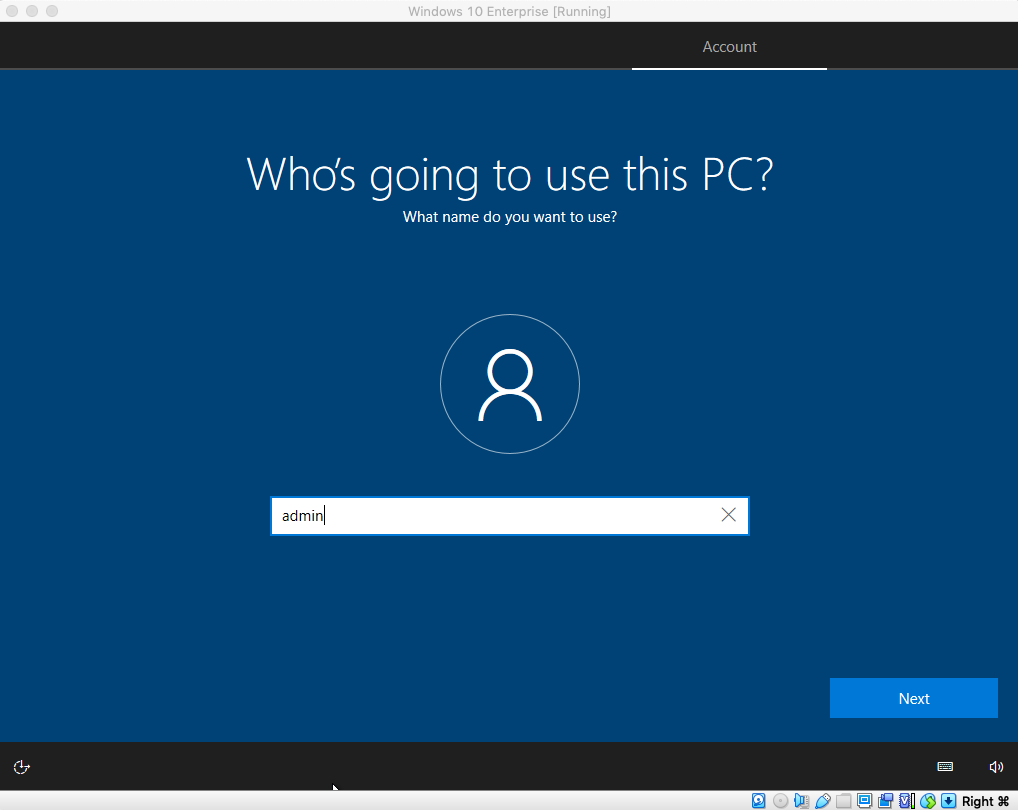
7. After approx. 10-20 minutes the main installation is completed and you are able to finish the post-installation setup of Windows (while still keeping the VM offline) where a local admin account is created:
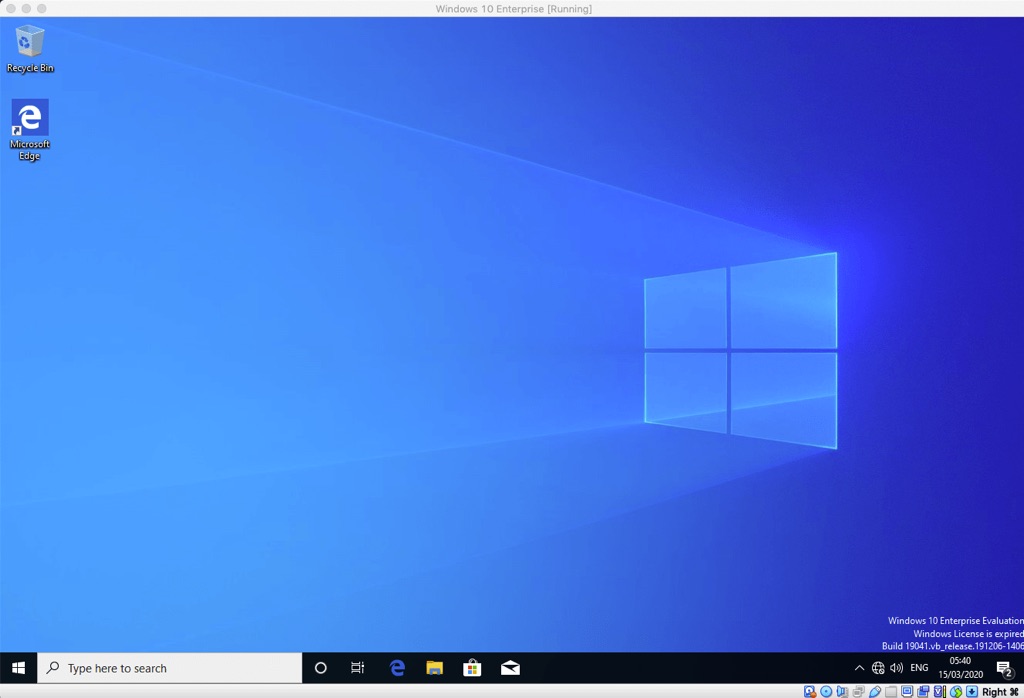
8. After the creation of the local admin account you can reboot the VM and take it online again. The VM should be usable now for the evaluation time of 90 days:
Conclusion
In this article we’ve described how to run Microsoft Windows 10 VM in VirtualBox on MacOS. We used the free virtualization software VirtualBox and the time limited (90 days) evaluation version of Microsoft Windows 10 (Enterprise).
↑ back to top ↑